Link
Learn how to link a new or existing Oracle Cloud account to Oracle Database@AWS and complete the service set up.
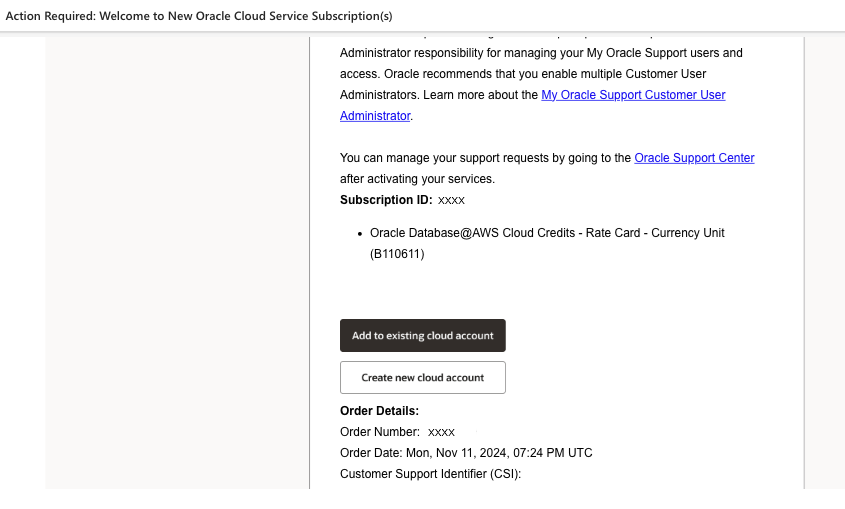
After you purchase an offer for Oracle Database@AWS, Oracle sends you an email with the subject line Action Required: Welcome to New Oracle Cloud Service Subscription(s). This email might take up to an hour to arrive after you accept the offer in AWS Marketplace.
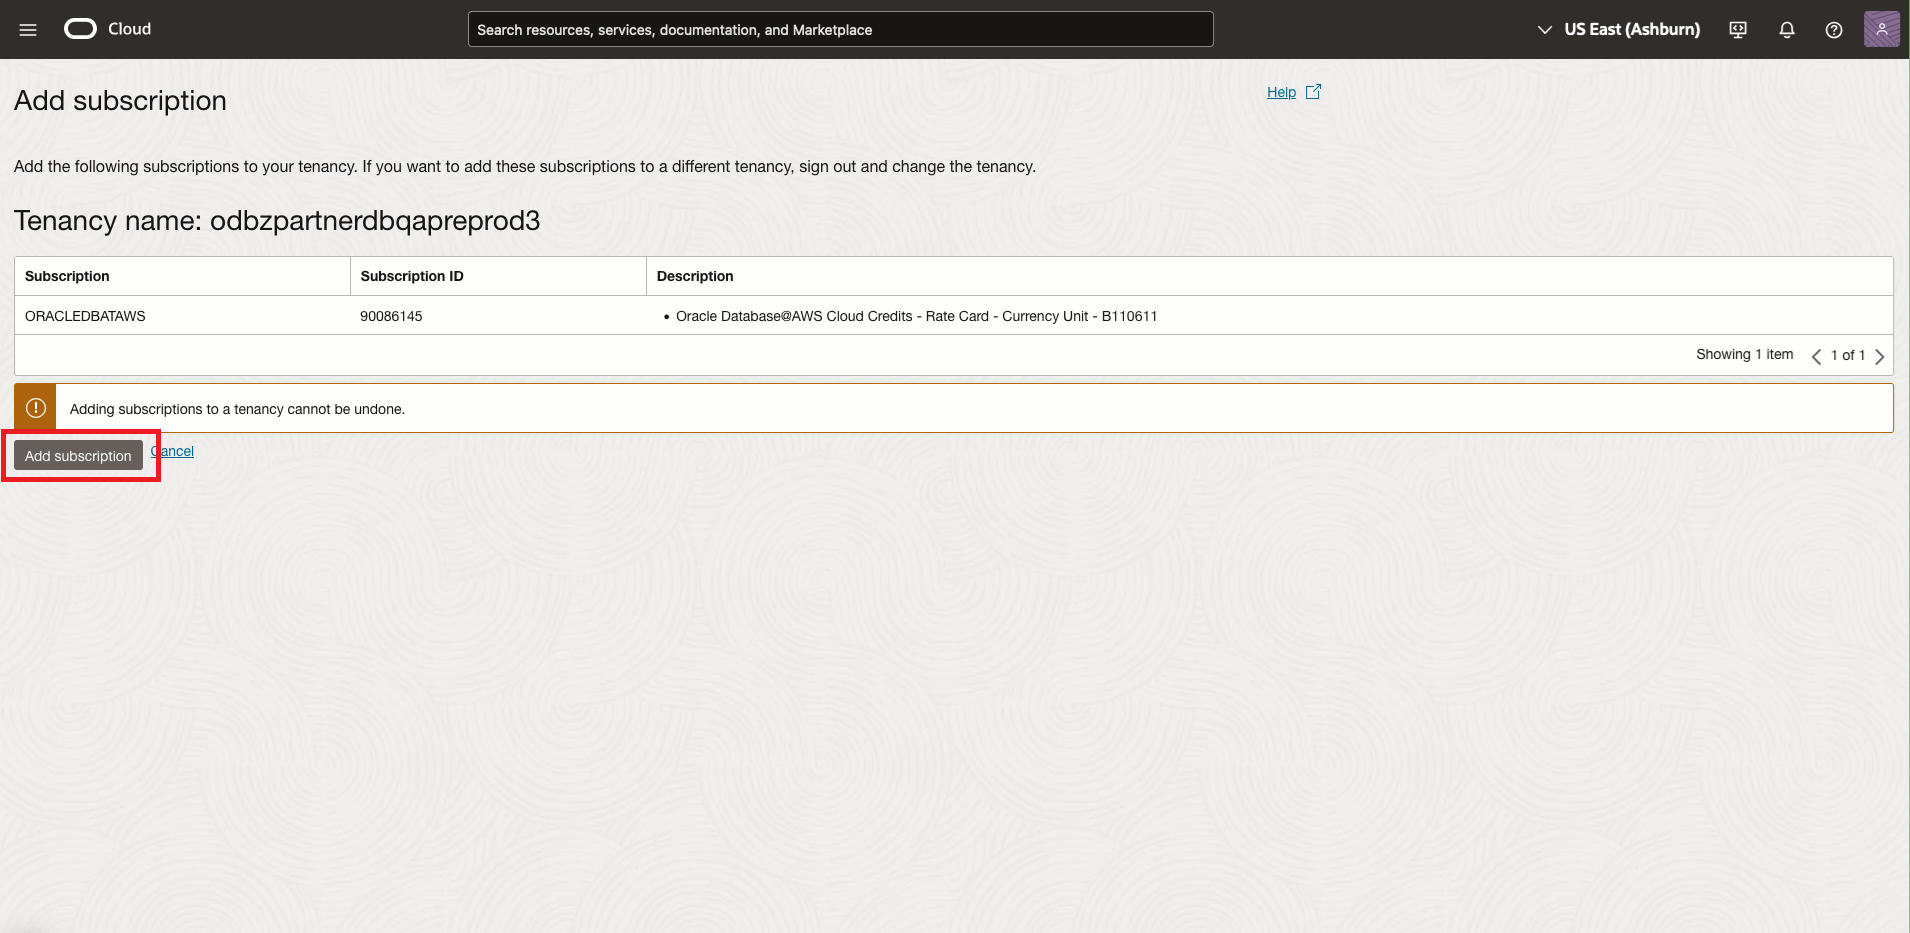
Activate Oracle Database@AWS using the links and information in the email. The email has links for adding an existing Oracle Cloud account (also called an OCI tenancy) to Oracle Database@AWS and for creating a new OCI tenancy. For more information on OCI tenancies, see Account and Access Concepts in the OCI Getting Started guide.
Whether you create a new OCI tenancy or link an existing tenancy depends on whether you have an existing tenancy that you want to use with the service or not. Instructions for both options are included in the following sections.
When deciding whether to use an existing OCI tenancy with your Oracle Database@AWS service, note that de-linking the account after an offer has been purchased (for example, so that you can accept a newer offer) requires the help of Oracle Support, and can't be done immediately. For short term or proof-of-concept use cases, we recommend creating a new OCI or creating a child tenancy of an existing OCI parent tenancy.
The OCI tenancy is used for the provisioning and management of container databases (CDBs) and pluggable databases (PDBs). The OCI tenancy also lets Oracle provide infrastructure and software maintenance updates for your Oracle Database service.
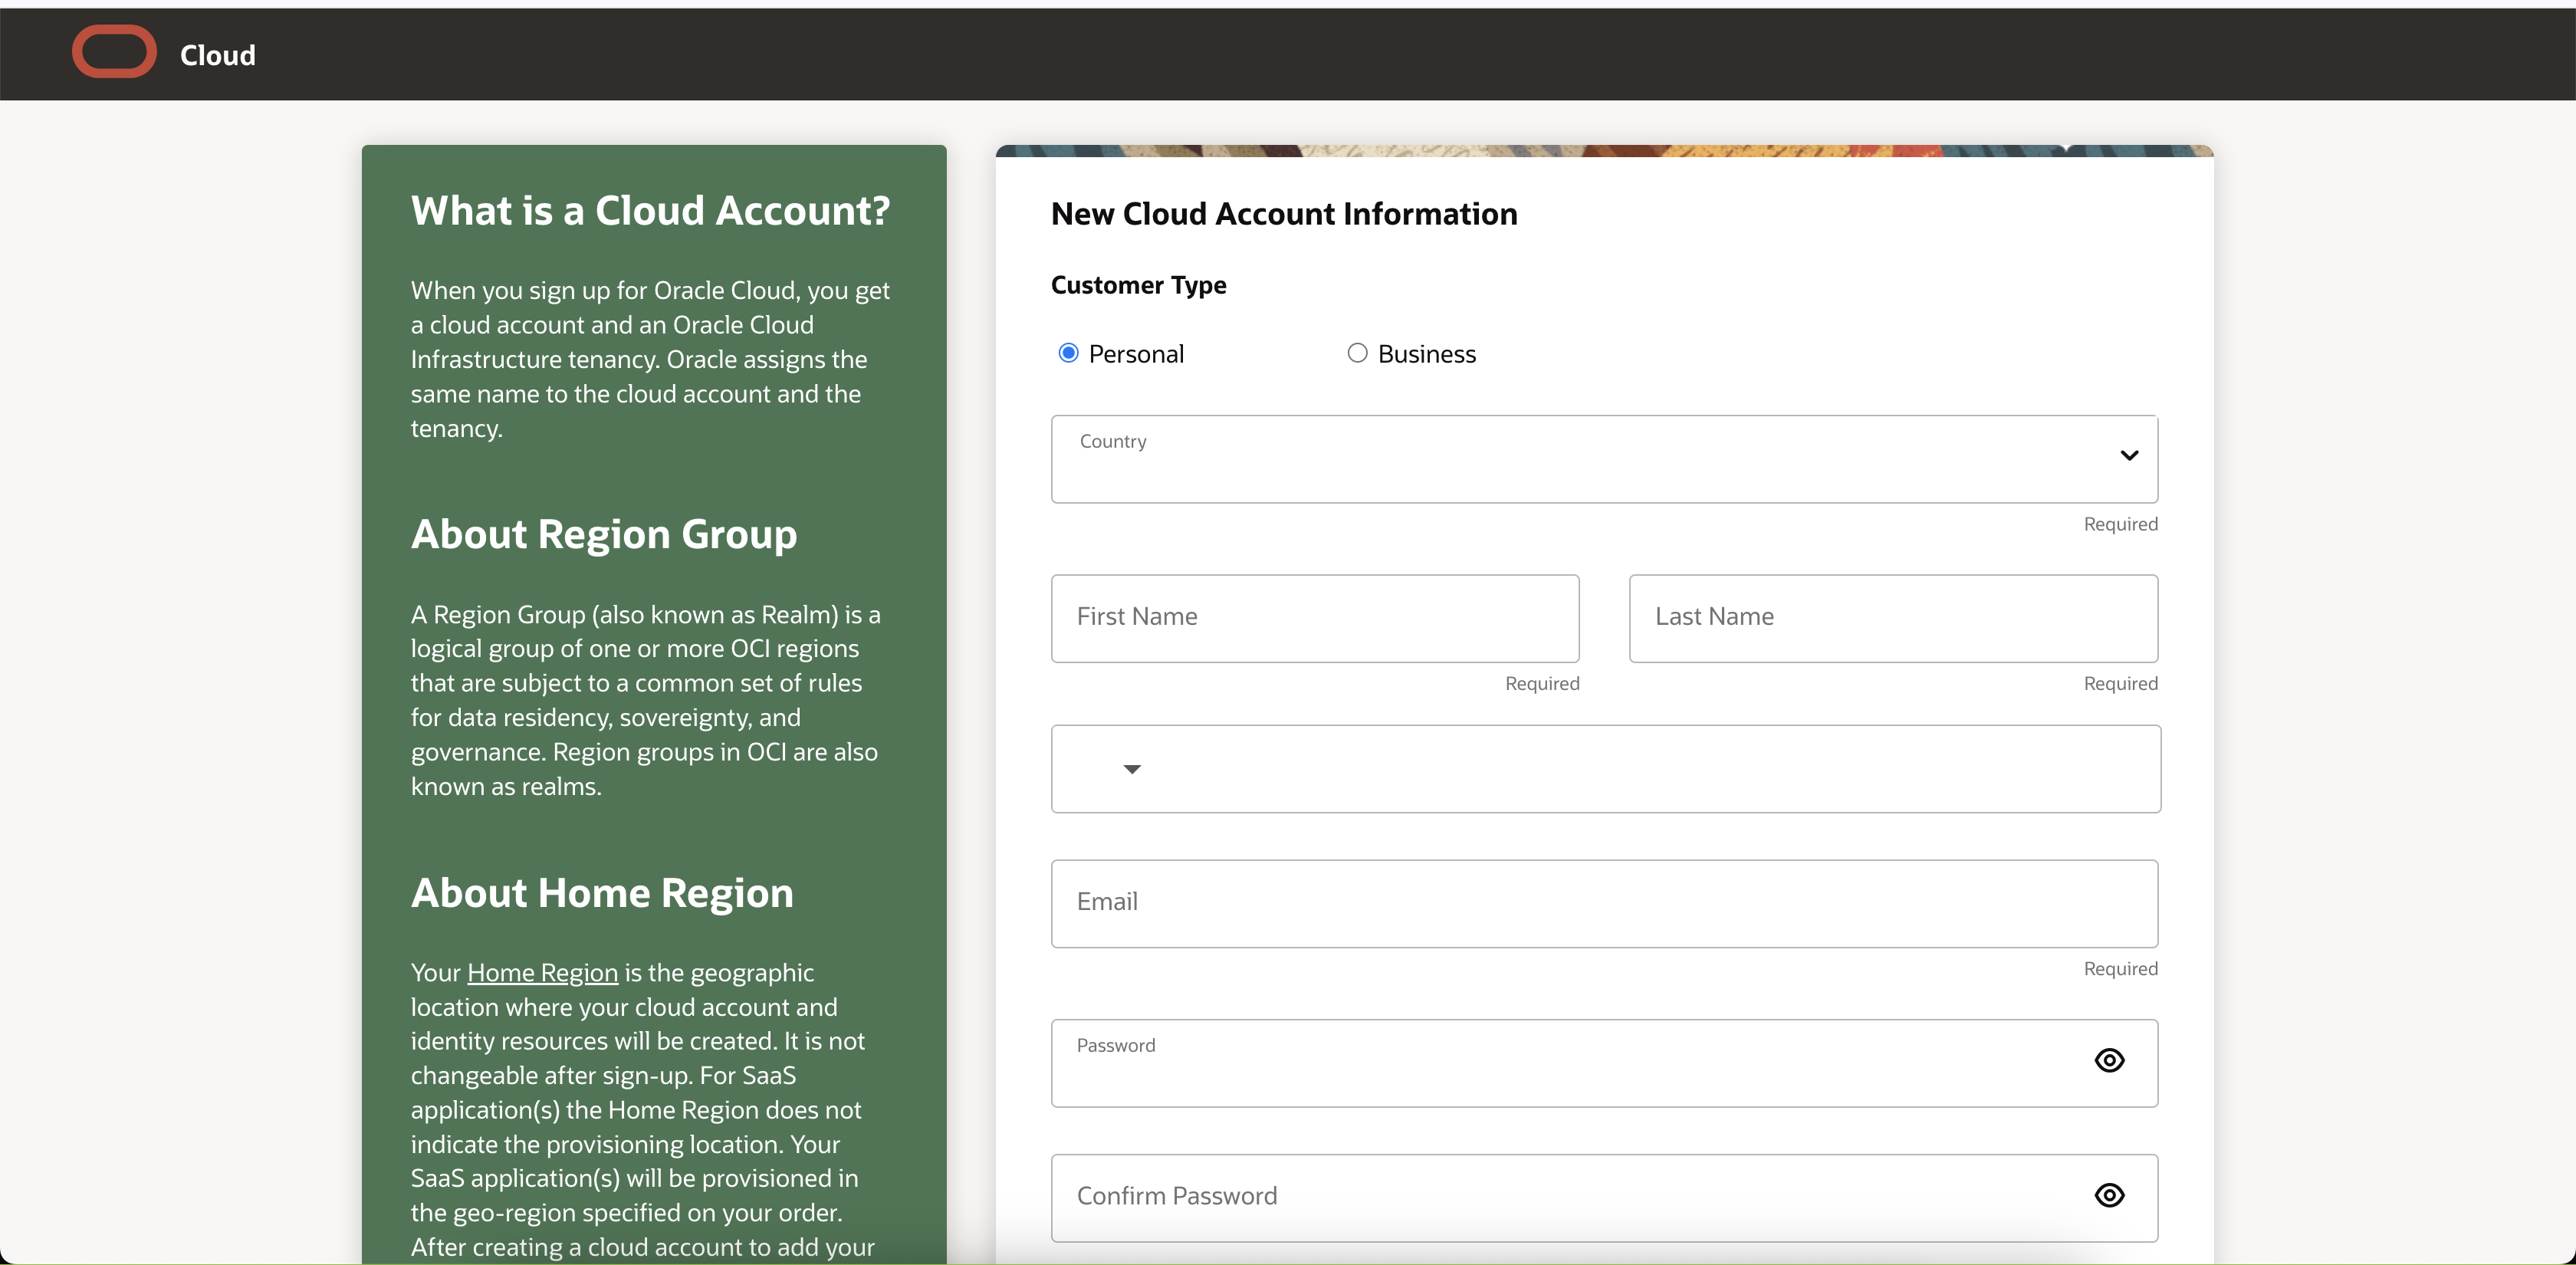
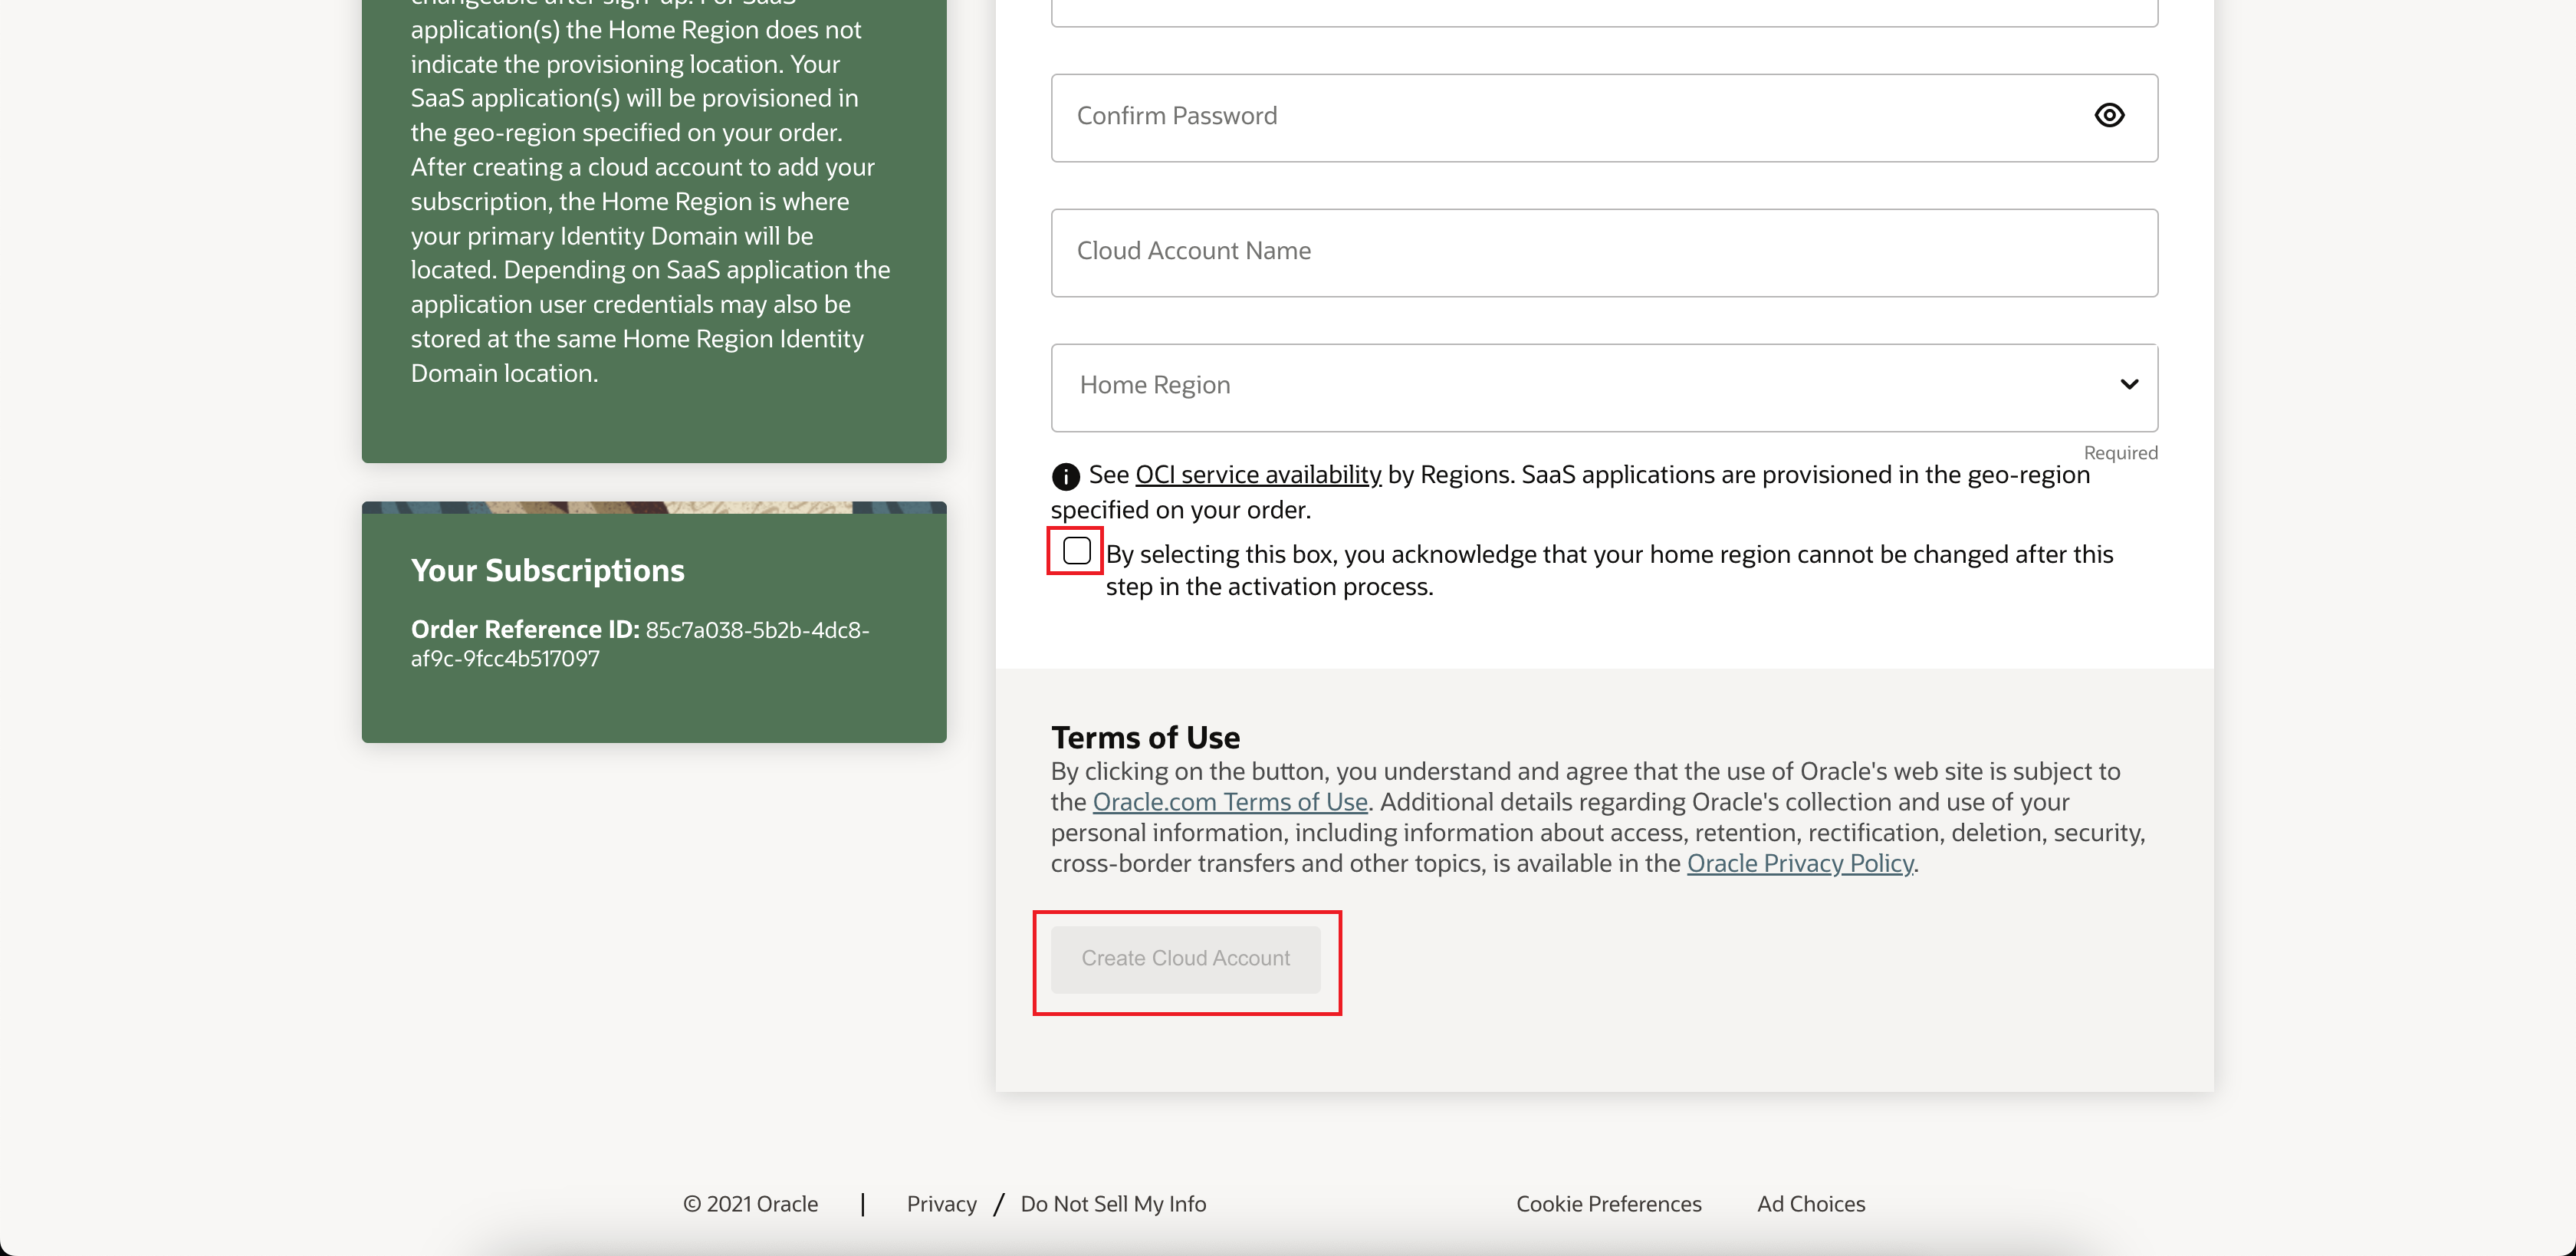
If you purchased a private offer and don't have an OCI account, or want to create a new OCI account for your service, use the instructions in this section. On completion of the account creation and linking operations that link the new OCI account with your AWS account, Oracle sends you an email with the subject line Your services are ready!. To sign in to your OCI account, select the Sign in button in the email. Use the instructions in this section if you purchased a private offer and have an OCI tenancy that you want to link to Oracle Database@AWS.
Important
To provision Oracle Database@AWS resources in a supported region in AWS, your OCI tenancy must be subscribed to the paired OCI region. For example, to provision resources in AWS's US East (N. Virginia) region, your OCI tenancy must be subscribed to US East (Ashburn). See Managing Regions and Subscribing to an Infrastructure Region for more information.
To see the AWS and OCI region pairings, see Regional Availability.
Oracle emails you when the subscription activation is complete. The process takes about 20 minutes.
What's Next?
Follow the instructions in Verify to complete the account linking tasks.
Subscribe to Oracle Database@AWS in Multiple Regions
After you complete the multicloud linking process, your account is activated in an OCI home region. When Oracle Database@AWS is made available in an AWS region, you must subscribe to the paired OCI region in your OCI tenancy before you can provision resources in the AWS console. If you try to use an AWS region that offers Oracle Database@AWS service in AWS console without subscribing to the paired OCI region in the OCI Console, you receive an error stating that you haven't subscribed to the OCI region.
To subscribe to an OCI region in the OCI Console
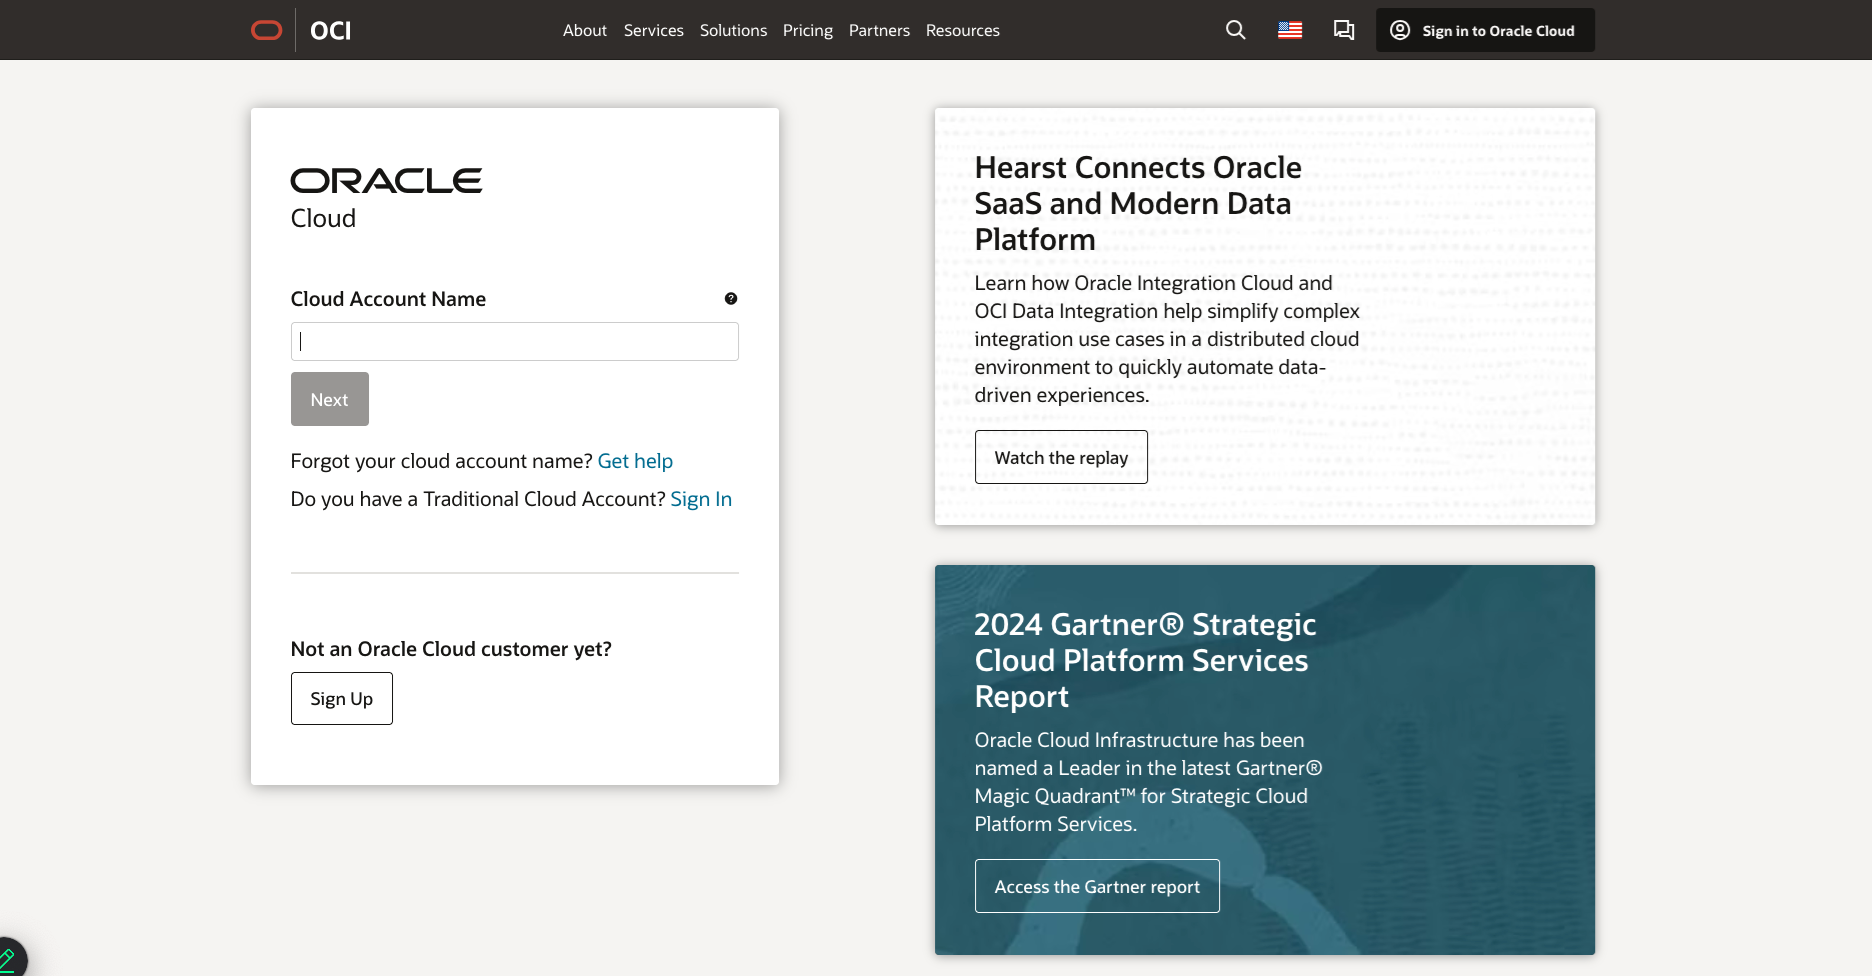
- Sign in into your OCI account at http://cloud.oracle.com.
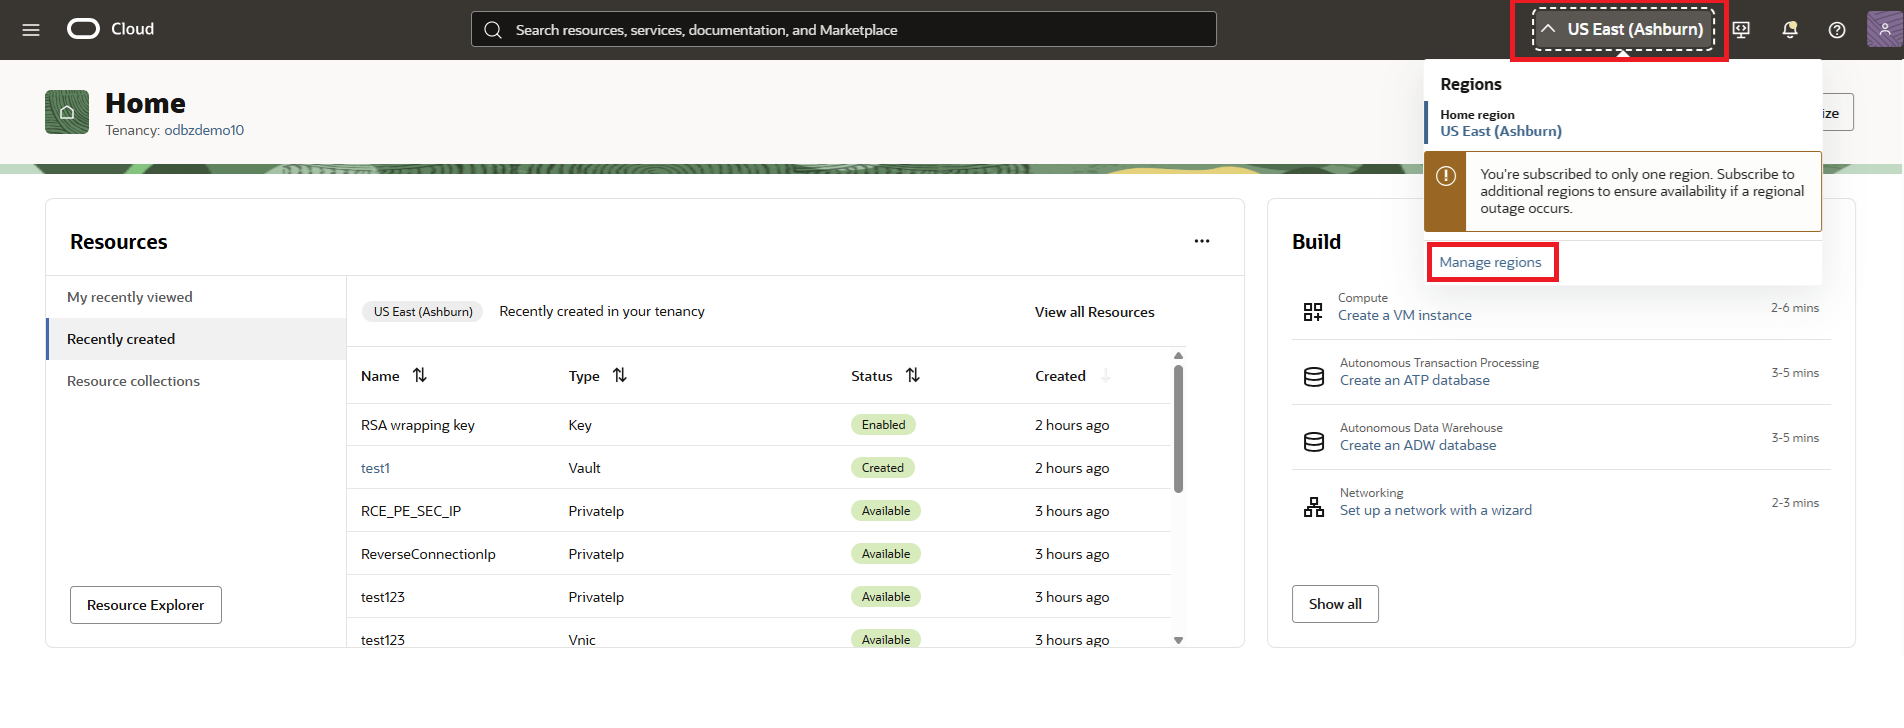
Open the Regions menu, then select Manage regions.
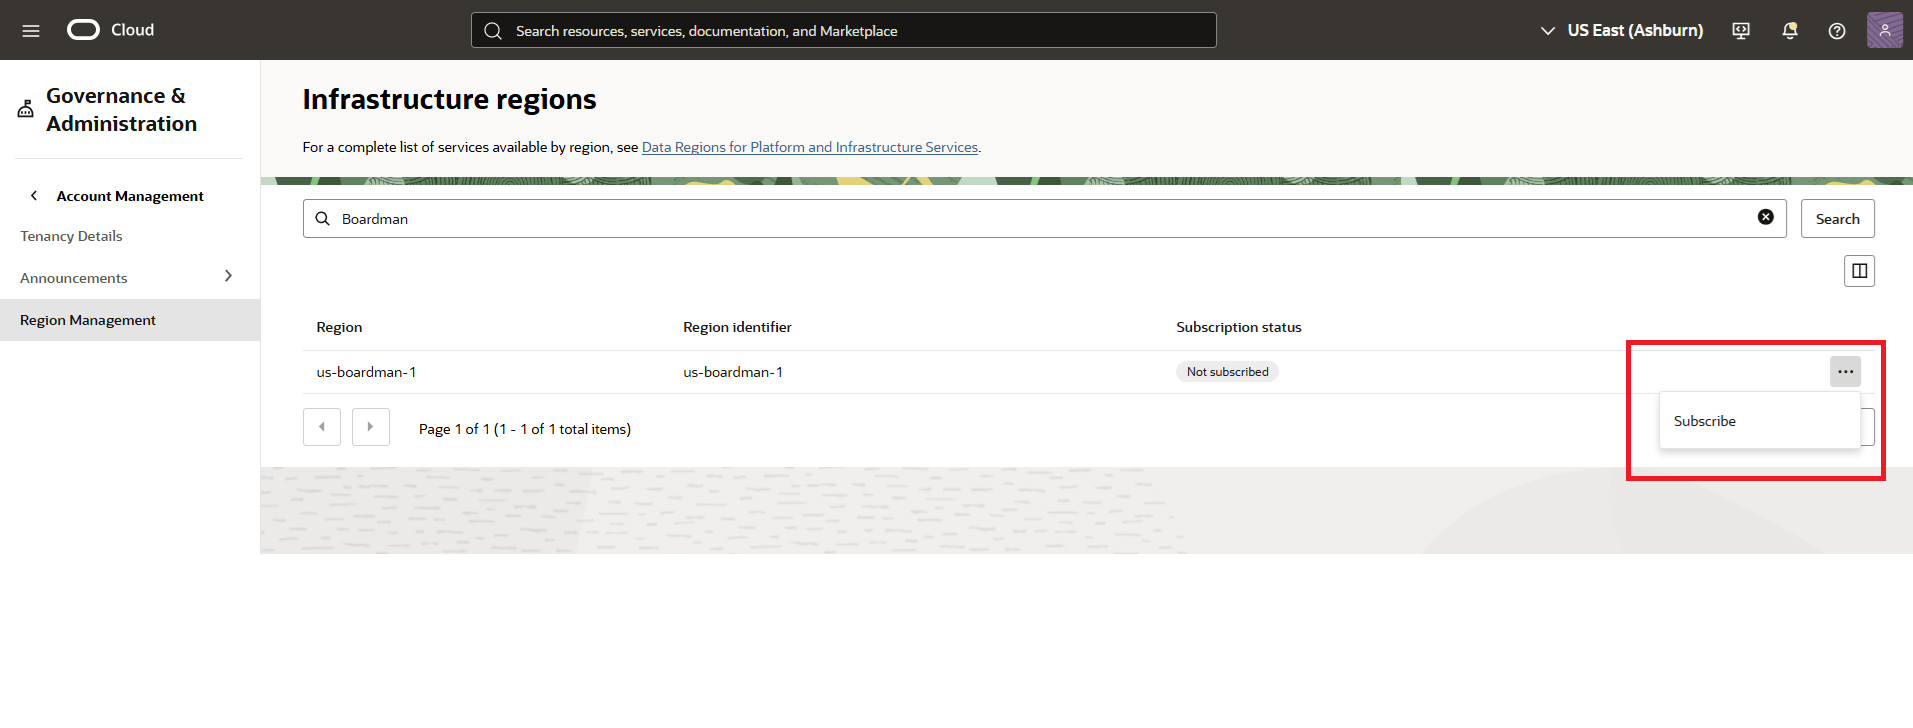
Search for the name of the OCI region.
The OCI region name might differ from the paired AWS region name. If you need to find the OCI region name, see Regional Availability in this documentation.
- In the row listing the region you want to subscribe to, select the , then select Subscribe.
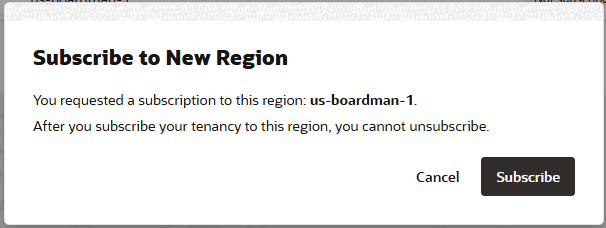
Confirm the region subscription.
Note
If the OCI region you are subscribing to is built to support specialized workloads such as Multicloud, then follow the steps at Replicating an Identity Domain to Multiple Regions. To learn more about Multicloud regions, see Regional Availability.- Return to the AWS console to continue provisioning Oracle Database@AWS resources in the AWS region paired with the OCI region you subscribed to.
